How-to guides
How to install the ScanSnap scanner software
This guide will show you how to install the ScanSnap S1300i scanner. After completing these steps, ScanSnap can be used to scan and enter documents into SQlapius.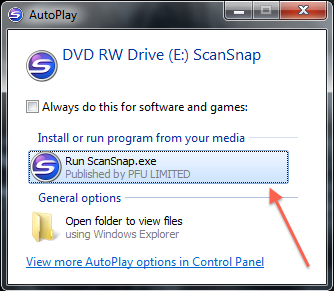
Start by inserting the ScanSnap installation disc into your pc or laptop. Select the 'Run ScanSnap.exe' option within the pop-up window, which will then open the ScanSnap setup tool.
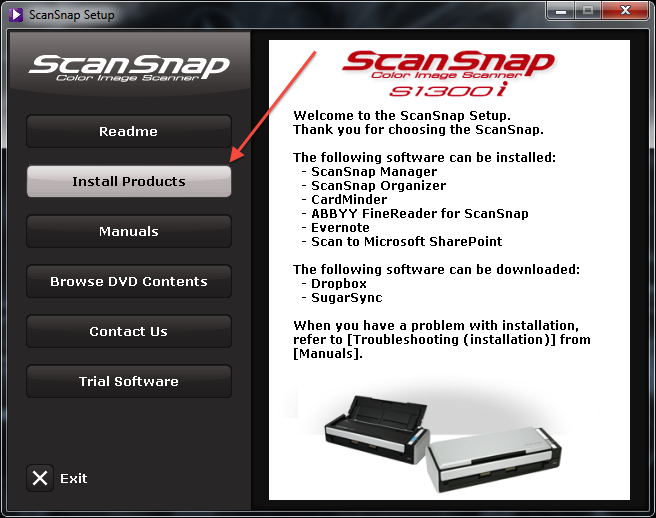
Click on the second button labeled 'Install Products'. This will take you to the product installation screen.
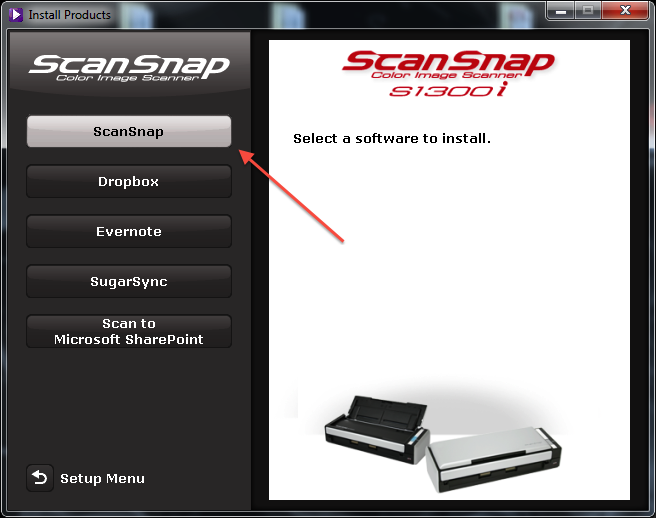
Click on the first button labeled 'ScanSnap'. The ScanSnap installation wizard should now open.
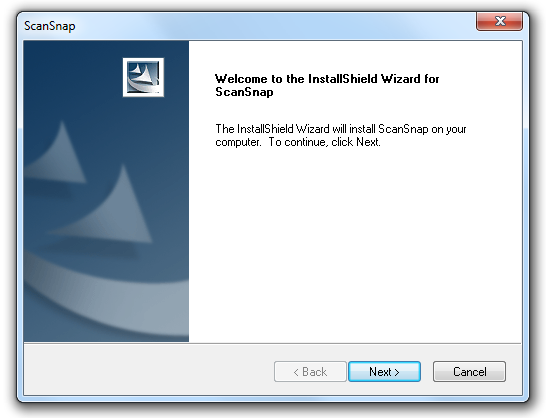
Click 'next' to start the installation process.
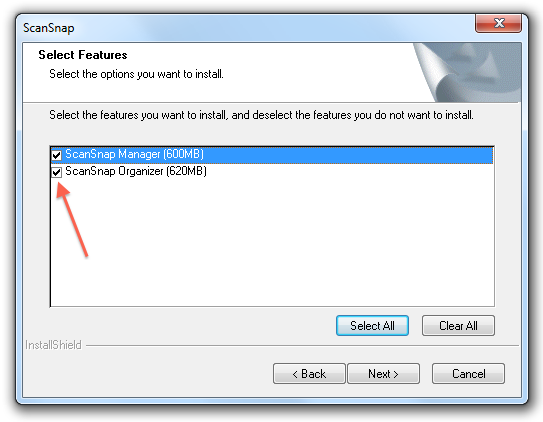
Make sure that both the 'ScanSnap Manager' and 'ScanSnap Organizer' are selected. Click 'next' to continue the set up process.

Select the installation folder for the ScanSnap application. It's recommended that you leave it set to default (Program Files). Click 'Next'.
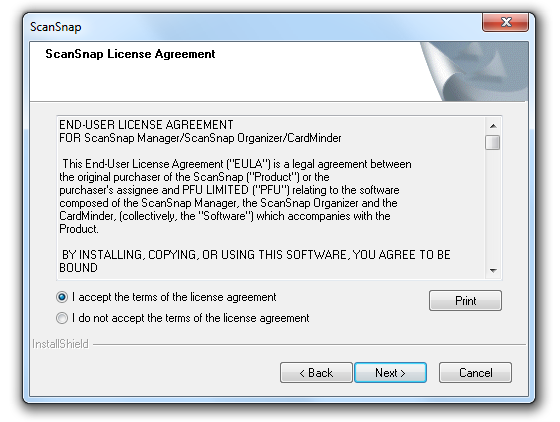
Accept the licensing agreement and click 'Next' again. ScanSnap Manager and ScanSnap Organizer will now be installed on your system.

Click 'Finish' once the installation has been completed.
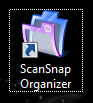
Locate the 'ScanSnap Organizer' icon on your desktop and double click it to launch the application.
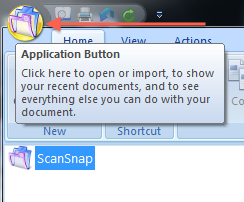
Click on the folder ('Appilcation Button') located in the top left hand corner of the ScanSnap Organizer module. This will open a dropdown menu.

Click on 'SCAN Button Settings' from within the dropdown menu.
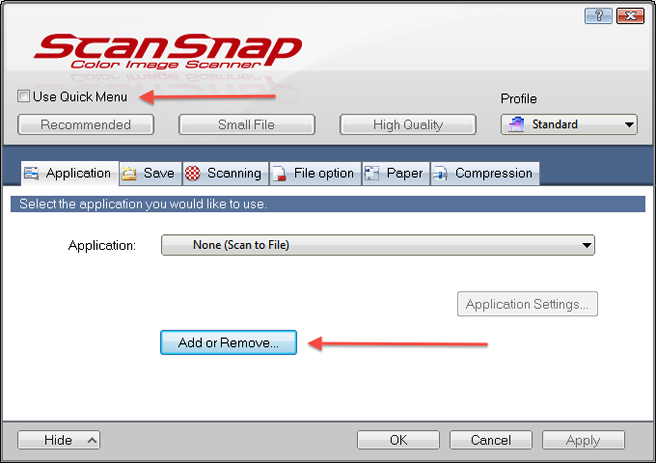
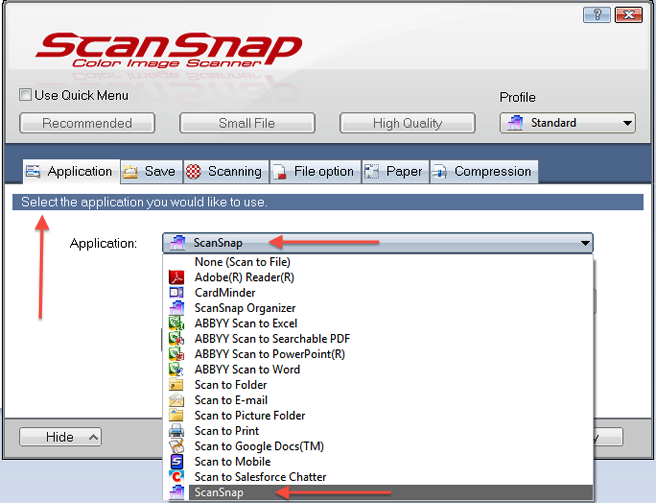
Click on the 'Applications' tab and make sure that the 'use Quick Menu' checkbox is un-checked. Click on the 'Add or Remove' button.
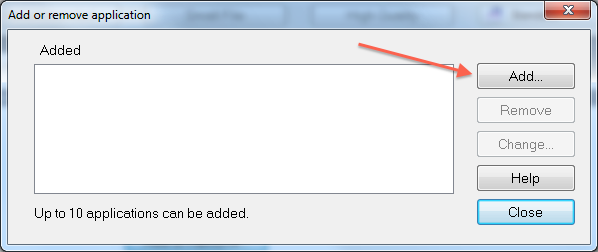
Click the 'Add' button.
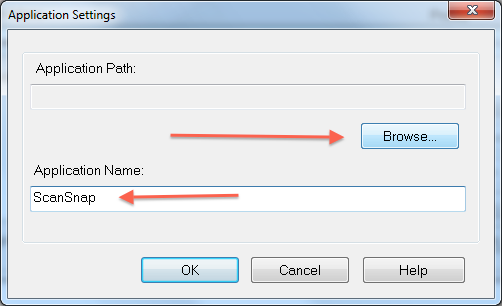
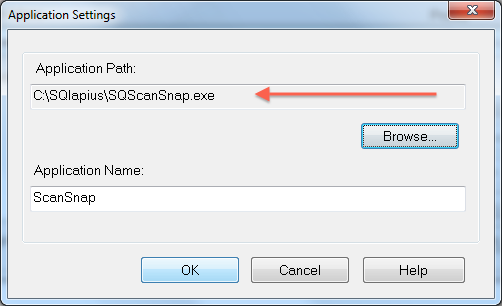
Change the value in the 'Application Name' box from 'New Application' to 'ScanSnap'. Follow by clicking the 'Browse' button.
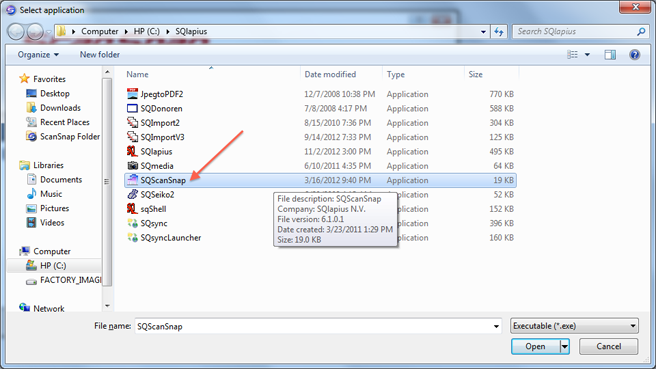
Locate the 'SQlapius' folder on your C: drive and then select the 'SQScanSnap.exe' file. Click open. You should see the following application path: 'C:\SQlapius\SQScanSnap.exe'.
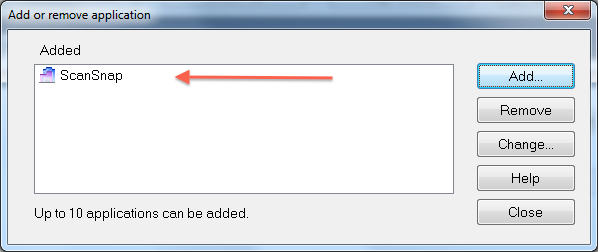
Your newly created application should now be listed in the 'Add/Remove' window. Click 'Close' to continue with other settings.
Click on the 'Application' tab and select 'ScanSnap' from the drop down list.
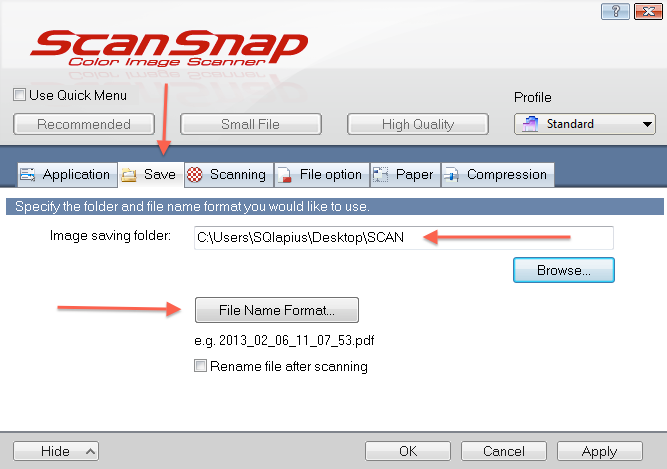
CLick on the 'Save' button and specify the folder and file name format you may wish to use when saving a scanned file. You may leave these settings on default if you wish.
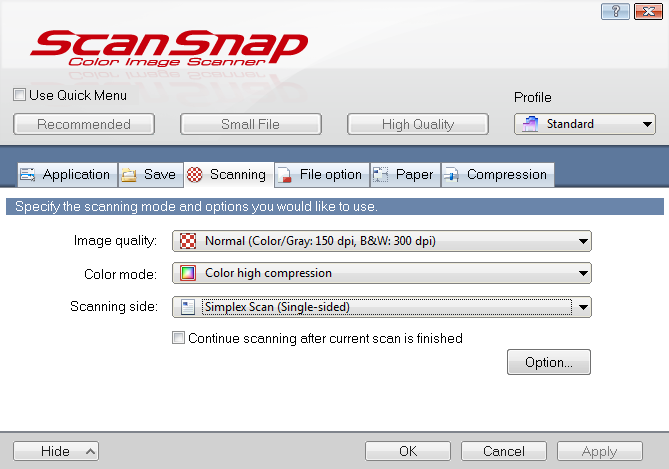
Click on the 'Scanning' button and make sure the selected settings are as follows:
Image quality: Normal.
Color mode: Color high compression
Scanning side: Simple scan.
Then click on the 'Option' button.
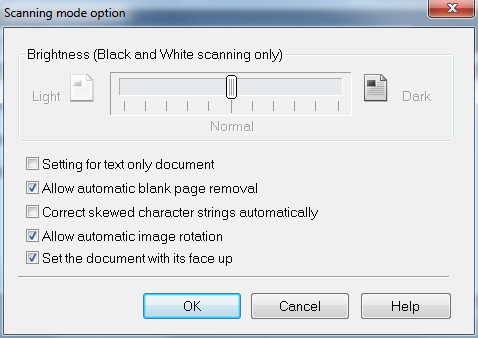
Make sure that only the following three options are checked:
Allow automatic blank page removal
Allow automatic image rotation
Set the document with its face up
The ScanSnap utility can now be used to scan and add documents to SQlapius.